

Welcome to A Piece of Cake Designs very first recipe - a step-by-step guide to recreating a layout from the design team.
If you use the kit contents and follow the instructions, you will end up with a layout just like this one:
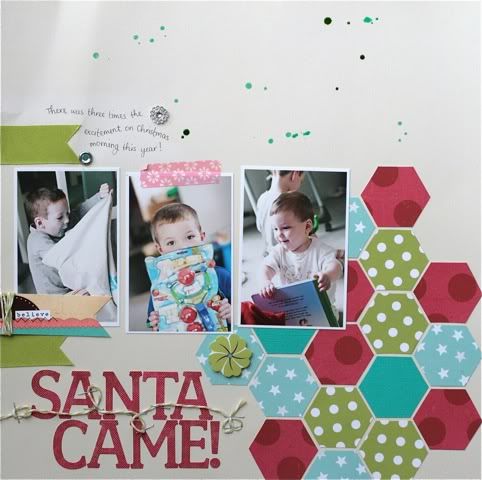
Of course, you can swap out papers and embellishments to suit your own photos or style, and make changes along the way to create something that is uniquely yours. Whatever you do, please leave a link here in the comments to your layout, or share it with us on our Facebook page. We'd love to see it!
1. Start off with a neutral coloured yardstick. I used the B-side of the Dear Lizzy 'Reindeer Ride' paper which is a lovely vanilla colour. You could also use the kraft cardstock that came in the kit.
2. Now THIS bit is fun! You will need to create a hexagonal template. You might be lucky enough to have a stencil around (would you believe I have one somewhere but I can't find it?!), but if not, use your word processing program to draw a 4cm hexagon. Print it out, cut it out, and then trace it onto a sturdy piece of card. Cut THIS out to use as your template.
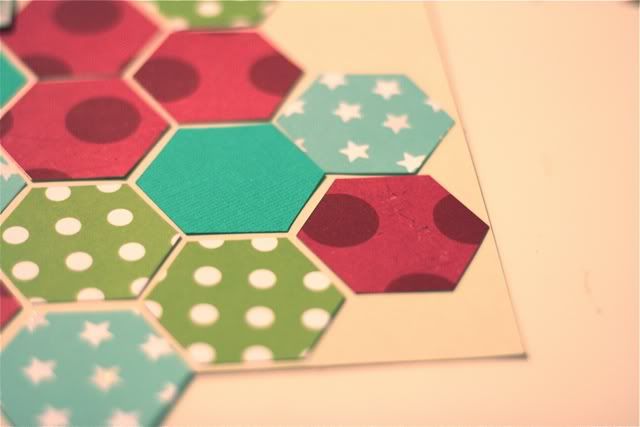
3. Choose three or four papers from the kit - I used the Pebbles 'Prince Charming', Pebbles 'Sparkling', Crate Paper 'Delivery' and the aqua cardstock. Use your hexagonal template to trace five or six hexagons on each paper, and then carefully cut them out.
4. This is a good time to put your title in place so you can arrange the hexagons around it. Using the Basic Grey 'Sugar Rush' alpha stickers, spell your title out in the bottom left corner.
5. OPTIONAL: Add some interest to your title by twirling some twine over the letters and securing with staples.
6. Arrange your hexagons in the bottom right quarter of the page in a random pattern. Don't get too fussy about things here ;) Once you're happy with how they are arranged, stick them down.
7. Add a Dear Lizzy dimensional flower sticker to one or two of the hexagons, just for fun :)
8. Arrange your photo(s) above the title, adding a smidge of wash tape.
9. Cut out an Elle's Studio tag and wrap some twine around one end, securing at the back with tape. Cut a piece of green ribbon a little shorter than the tag and snip the end to match the tag's shape. Stick these, slightly overlapping, above your title.
10. Cut another piece of ribbon in the same way and stick it above your photo on the left hand side.
11. Write your journalling above your photo(s) on the left, or in any other space :) You can add a couple of brads to the space here if you like.
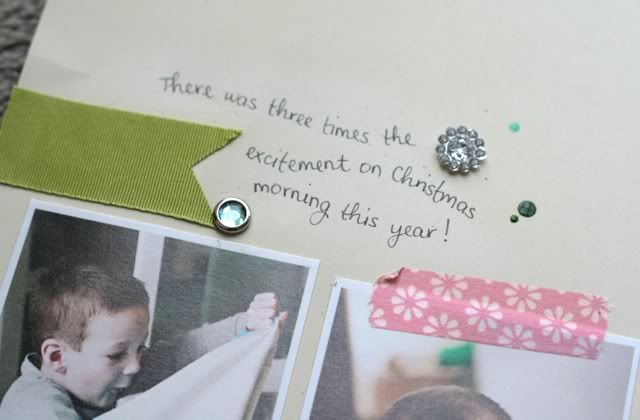
12. OPTIONAL: Splatter some mist in the white space at the top of the layout.
You're done! Make sure you share your layouts with us by linking up in the comments, or upload a photo to the Facebook page!


No comments:
Post a Comment